After a series of self-build Campers based on the VW Platform – starting with the VW T4 Transporter and culminating with a VW LT45 4.6t Minibus, I decided to go down the pre-built Coachbuilt Motorhome route and adapt one of those to my own requirements and wants.
Introduction
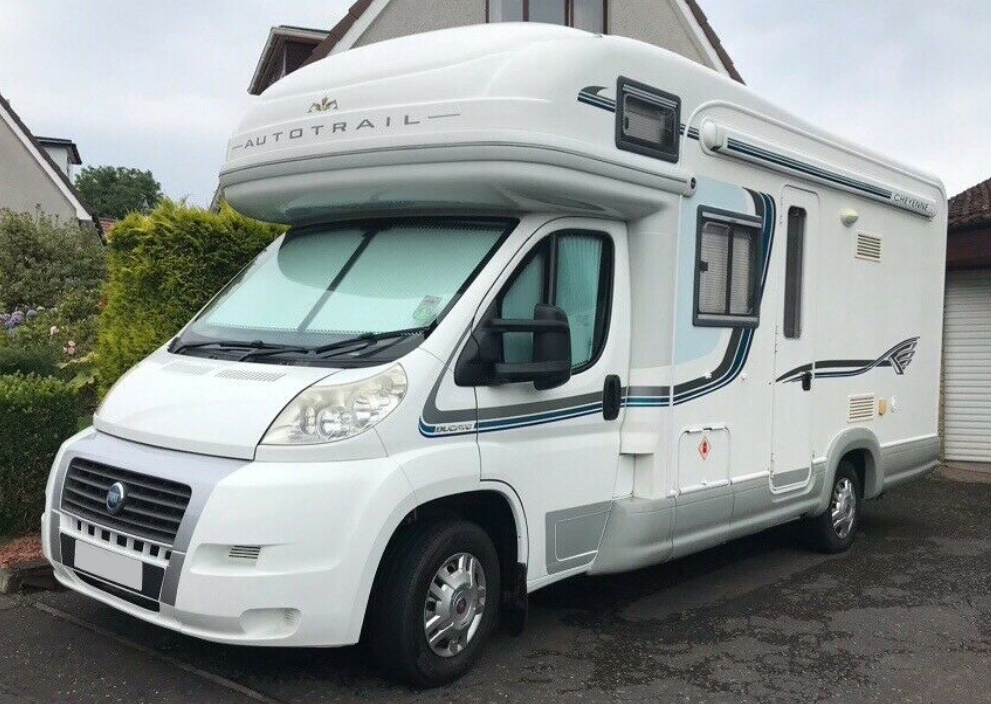
I bought an used Autotrail Cheyenne Motorhome and one of the things I always intended to do was update and improve the Habitation Electrics.
I knew no factory-made Motorhome would provide what I wanted, so no matter what I bought, I’d need to update, and the general other features of the Cheyenne were just right for our needs, so a perfect base for upgrading.
The Cheyenne is in superb condition so not a fixer-upper in the slightest, which is great, but I plan to make a few improvements still to make her even nicer. A few pics just before we took ownership …
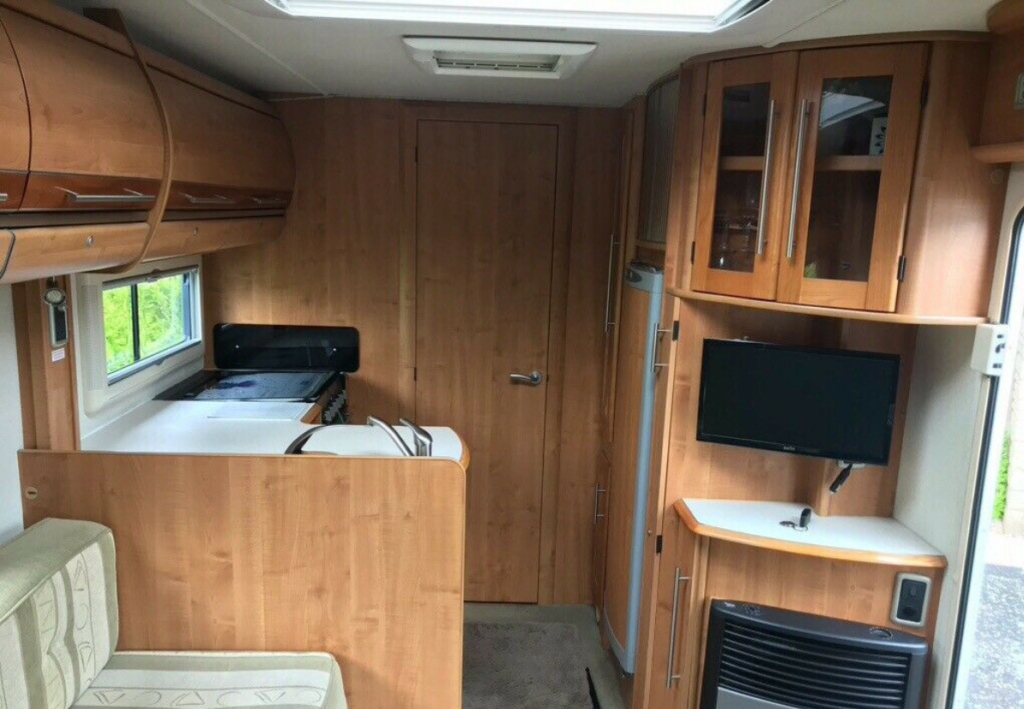
Kitchen
The Kitchen is well appointed with a full-size LPG Cooker with oven and separate grill, 3 gas burners and an electric plate; Good sized 3-way (12V + 240V + LPG) Fridge/Freezer, lots of storage above and below and of course a Sink.
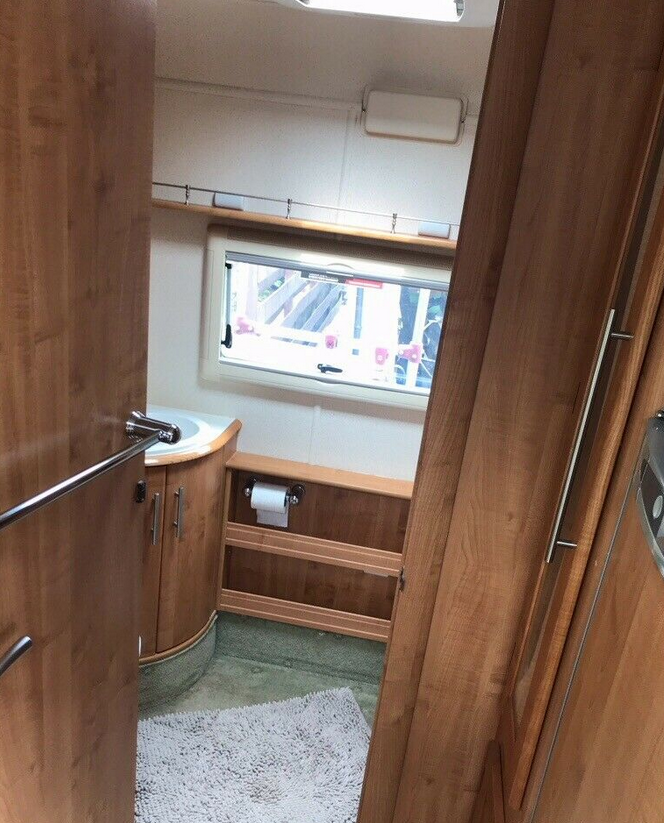
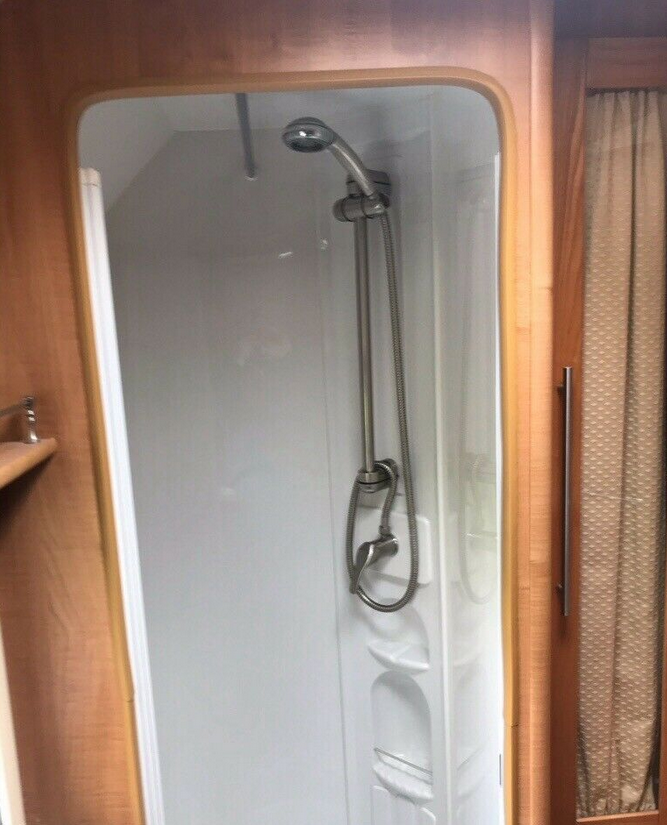
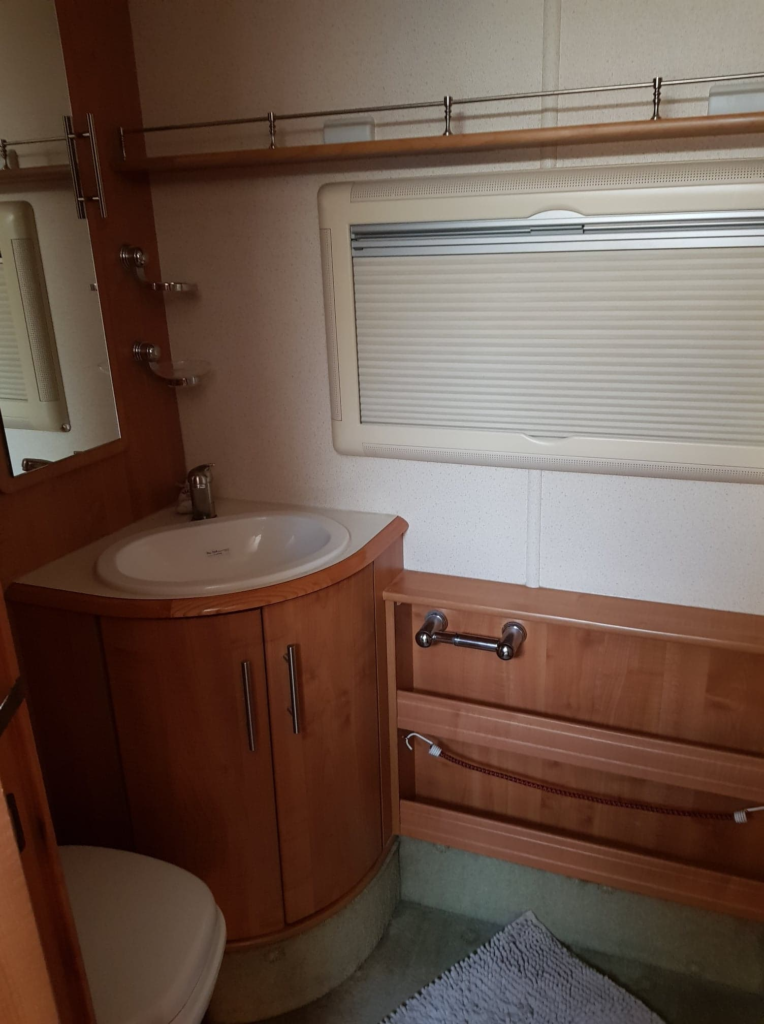
Bathroom
This is a Cheyenne 635 Model, and a key feature of the 635 is a full width rear bathroom, which was a major selling point for us as I find the typical campervan/Motorhome very constricted. The bathroom of the 635 is pretty much like a hotel en-suite with Thetford Cassette Toilet, Roomy shower cubicle with a proper door, Basin, Storage cupboard and Medicine cupboard, plus drawers and access to the Wardrobe which I think will be really handy. Also in the bathroom is a rear opening window and a roof vent.
Lounge
The Lounge comprises a pair of sofas, one long and one shorter. These can be pulled together to make up a large double bed for sleeping east-west. But the longer seat can also be pulled out on its own and you can sleep north-south comfortably as long as you are not more than around 6′ 2″ tall.
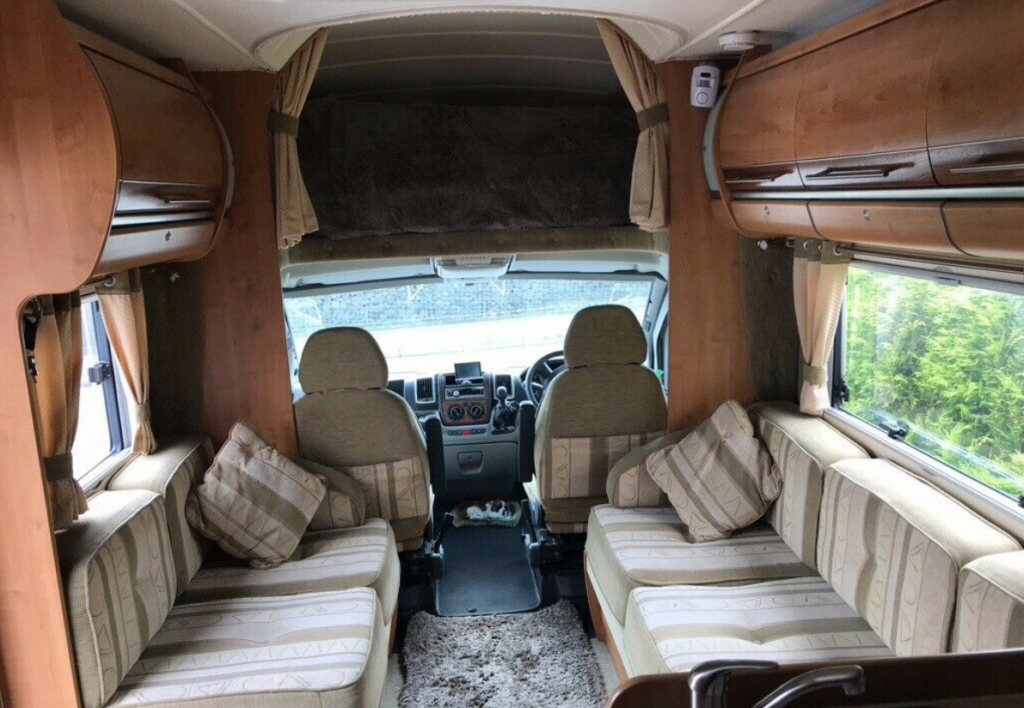
The Cab seats swivel around also to extend the Lounge area

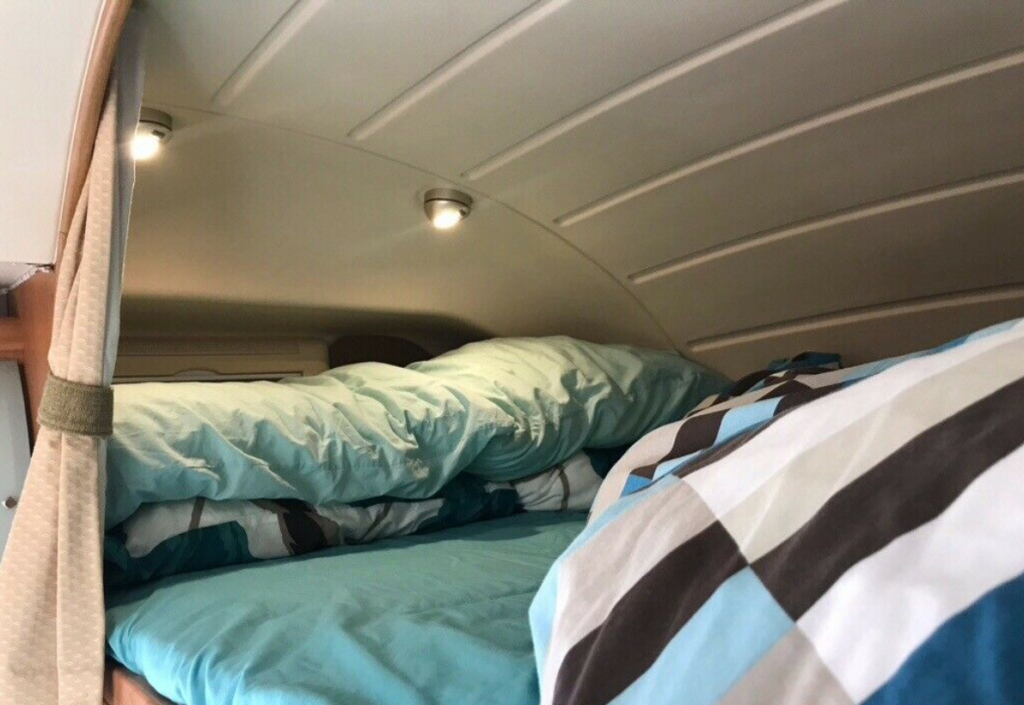
Overcab Area
Autotrail Motorhomes of this era came as either “High Line” or “Low Line” models. Both had a fairly significant cab overhang, with the difference being the Low Line had cupboards to the front and side of the overhang above the cab and the High Line used the space for an overcab bed with a pull-out bed base. I specifically wanted the High Line as I thought the overhead cab was in effect a fixed ready-made bed. (After the variety of self-builds, I knew I much preferred having a ‘puzzle bed’ I didn’t have to convert from seats and make up every night!)
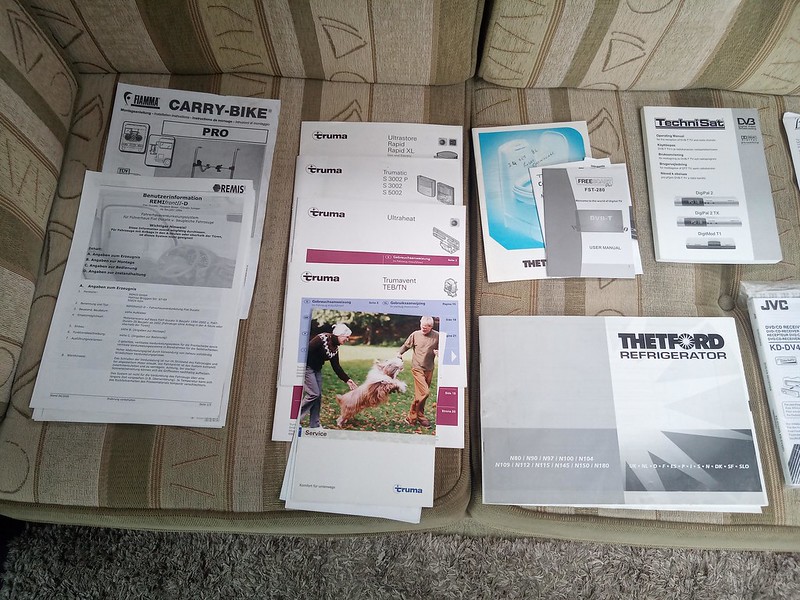
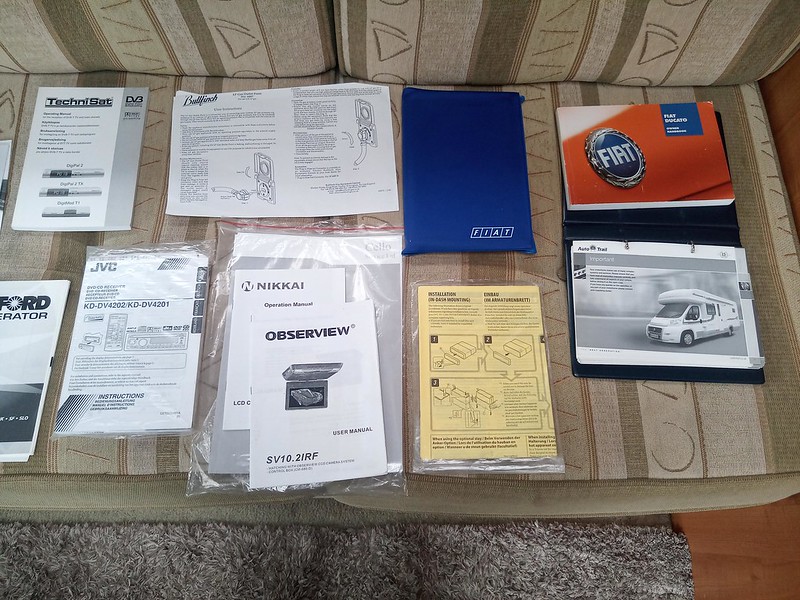
Information
The previous (and sole) owner was very particular and kept all the documentation and manuals
First Outings
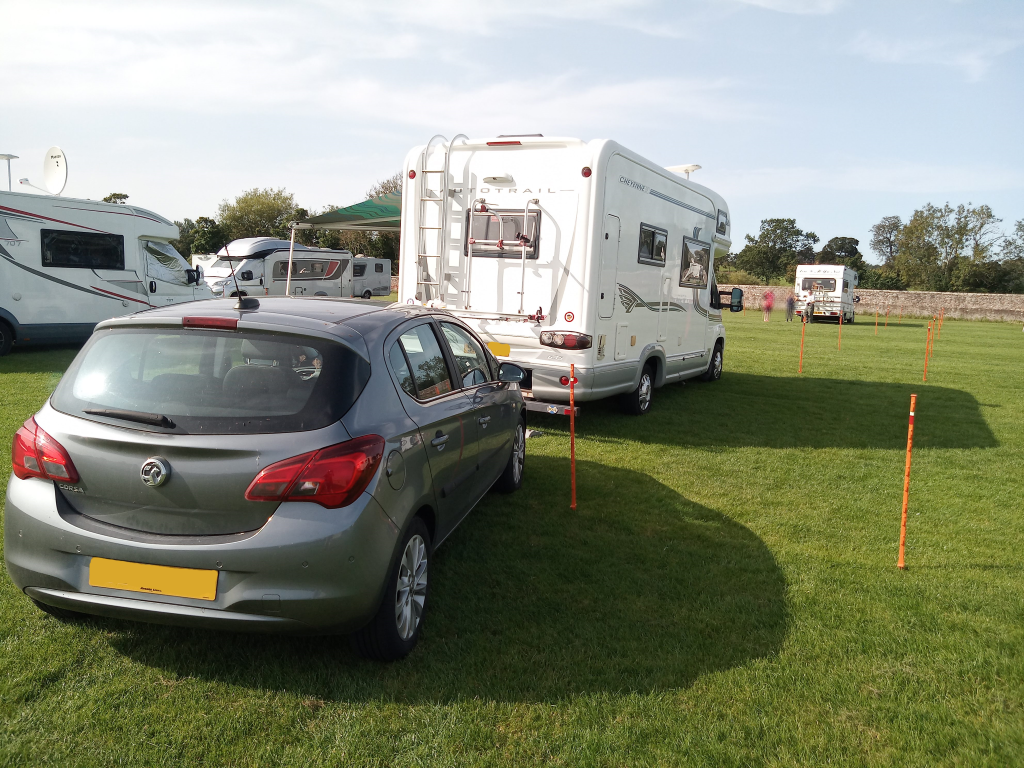
A few days after taking ownership of the Autotrail, I went to a club meeting of a Forum I am a member of. This was only 5 miles from home, so thought it would be an ideal shakedown trip.
This was a very useful weekend away as I found the batteries were in a pretty bad state. Fitted are a pair of 120Ah AGM Batteries which would last a good amount of time usually, but I lost all power before Lunchtime on the 2nd day away! I was looking to update the batteries of course, but I was hoping to spend a little more time with the Motorhome before making changes to get a feel for it.
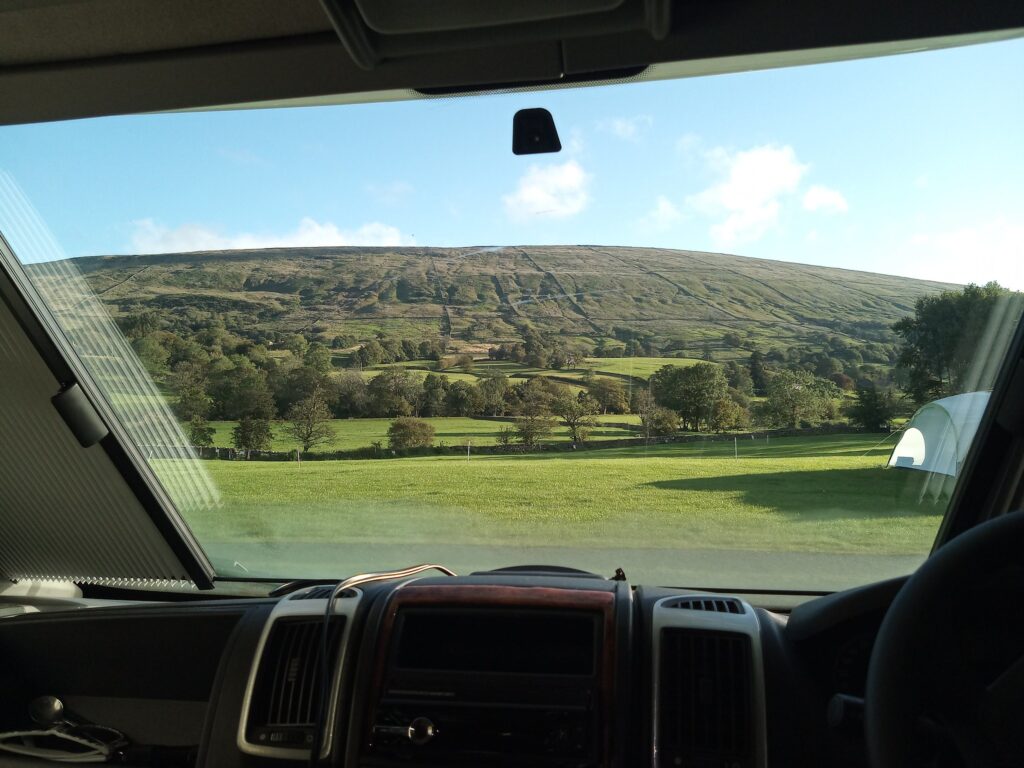
The following weekend I went to a Campsite – High Laning in Dent – in the West Yorkshire Dales to do an installation on a T4 Autosleeper. First ‘long distance’ trip away, but this time I had Main Hookup so didn’t have to worry about the batteries – yet.
This allowed me to get to know the Motorhome a little more and plan what changes will be needed.
What’s Next?
I have quite a few plans for the Autotrail. A lot around the Electrics of course, but also general changes and updates as well.
There will be a series documenting the Electrics updating. This will a weekly series with a new part posted every Sunday Monday. I hope this will be interesting – make a note in your diary!
Other updates will be more of an ad-hoc posting detailing what changes I have made.