I like to carry a reasonable selection of tools in my Motorhome, but finding a suitable place to put this toolkit, keeping all the useful tools in the one box and easily accessible has been a bit of a challenge. To date, I have used what used to be the external Leisure Battery locker but that has not always been that handy if all that is wanted is a screwdriver or meter, so looking for alternative locations ….
One option that looked promising is under the Drivers seat. What is under the cab seats on a Motorhome is very dependant on both the make of the chassis (i.e. Fiat, Ford, Renault, etc) and the make of the Motorhome/Campervan (i.e. Autotrail, Bailey, Hymer, Chausson, etc). There may be Batteries (both Starter and Leisure) underneath or Electrical Charging and Distribution systems such as Schaudt/Lippert EBL units.
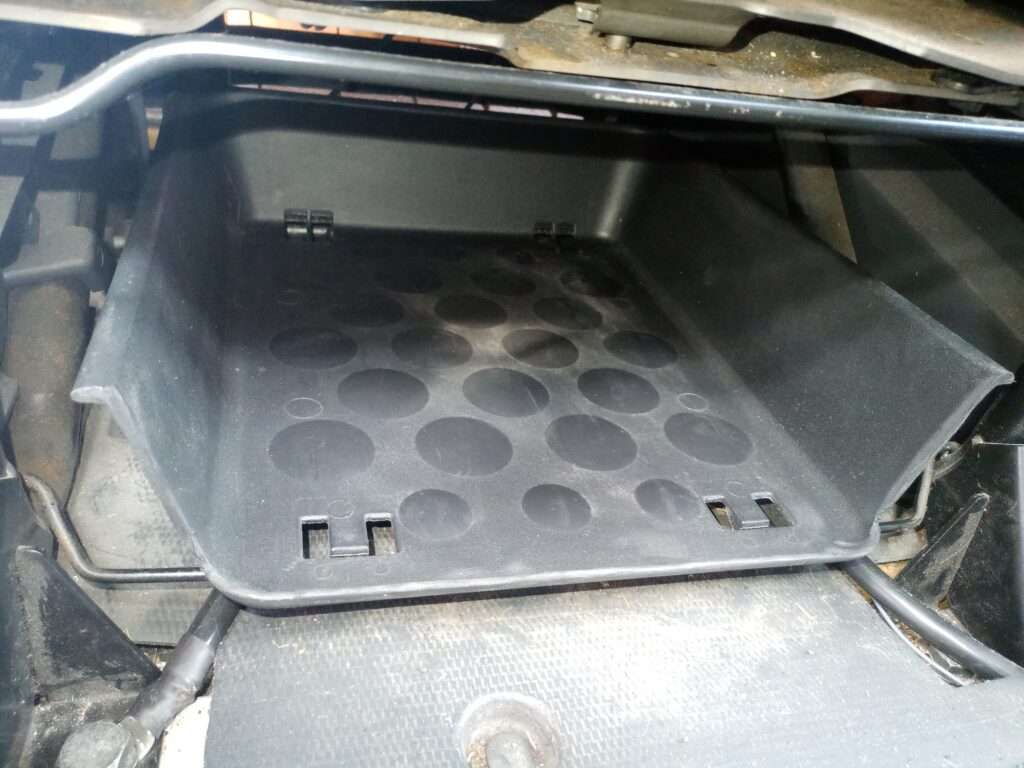
However, on my Autotrail, there is a storage tray under the Drivers seat available for whatever purpose you wanted (assuming what you want fits, of course!). I used my tray to keep a First Aid Kit and a pack of COVID LFTs. The LFTs went in the bin (past expiry date) and the First Aid Kit can go in the Bathroom, so no problems freeing up the space. But is the space big enough for the toolbox I wanted to use?
Not got a photo of my test fitting, but the answer is YES! But … with modifications to access it. The Toolbox will lay just fine in the Tray, but the tray is a fixed tray and has a high lip all around, which will stop the box going in and out with the tray in place (and the tray itself does a good job of protecting cables underneath so I don’t want to use the space without the tray fitted).
Step 1 – Modify the Tray
I got out my trusty Dremel and removed a large portion of the front of the tray ….
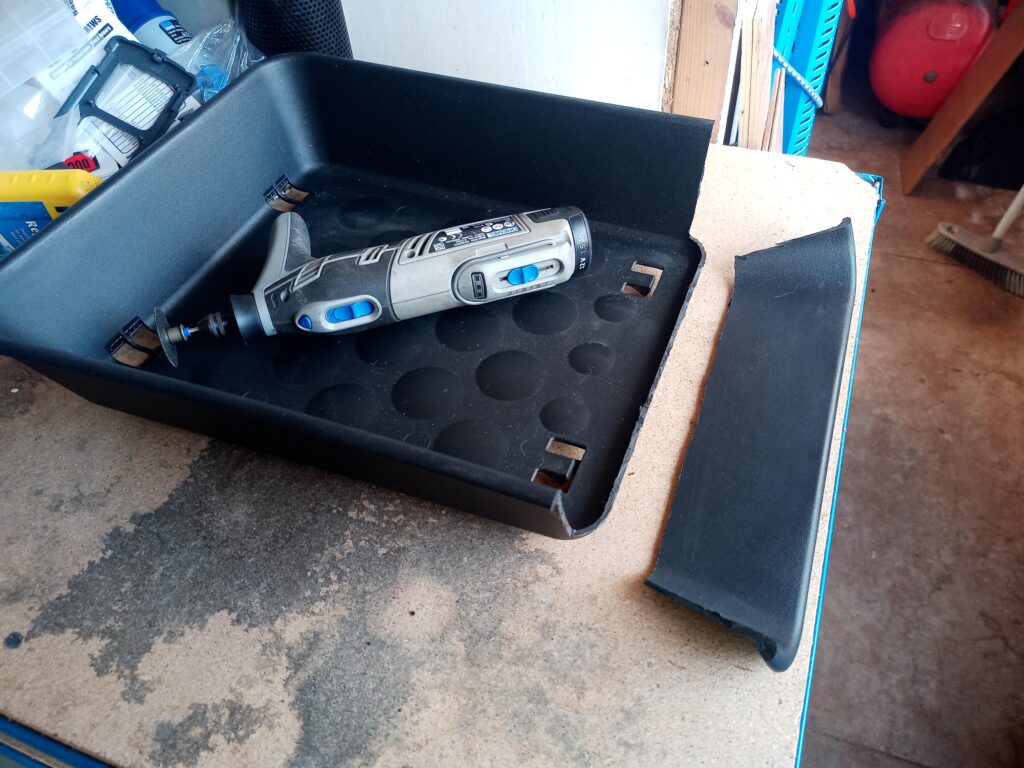
I cut the front so as to keep a small lip at the bottom to help keep the toolbox in place but still allow it to be removed by slightly lifting up and pulling forward. In fact, in hindsight I would have made the lip a little higher after checking the movement once refitted, but it will work fine as it is I have little doubt.
Next step was get a abrasive/buffing wheel and smooth down the cut edge.
Step 2 – Find a Suitable Toolbox
I tried out my two toolbox options I was considering ….
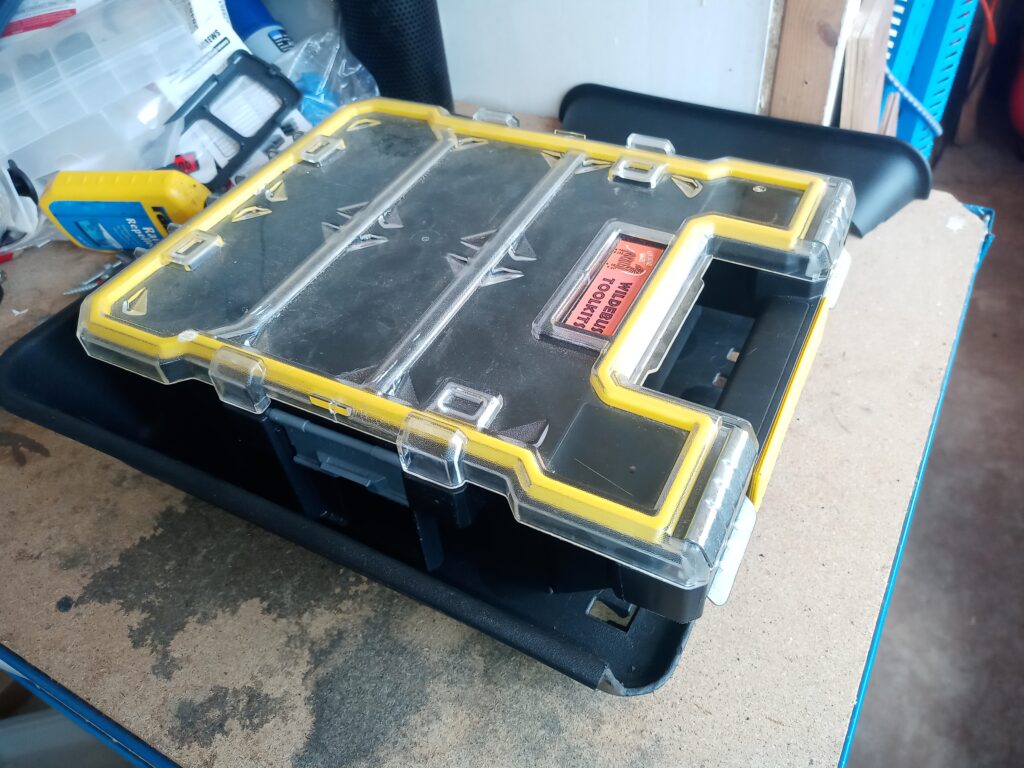
First was a Stanley/DeWalt narrow deep Pro Organiser. (I use the full width ones for other tool and parts storage elsewhere)
The other was the toolbox I had used previously and had been storing in the external locker within a Makita MacPak Box.
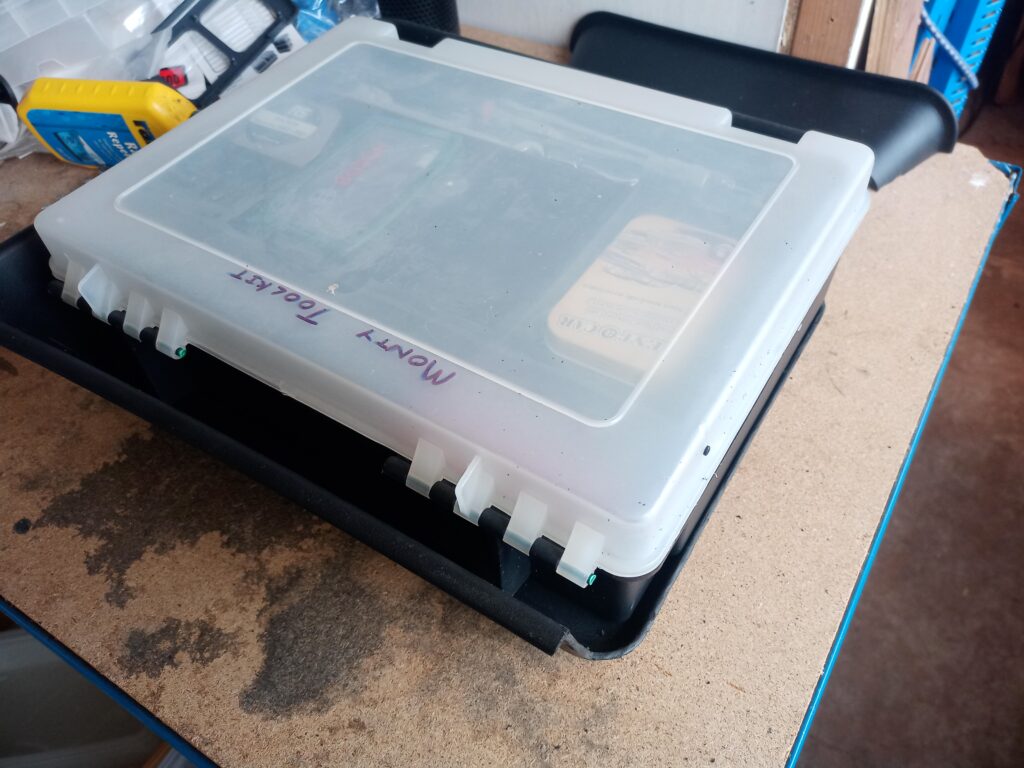
Both Boxes actually have a near identical Depth, Width and Height so both are decent options. The Stanley Box has a distinct advantage with a front handle but the other box has more internal space and a cantilever rising upper divider which gives good access to the kit packed inside.
Step 3 – Put the Tray back in position
I decided to go with the original box (I don’t know the make/brand so can’t tell you that), but I have a great backup option in the form of the Stanley box if need be. The following pictures shows the adapted tray put back in place and then the toolbox slid into its new home.
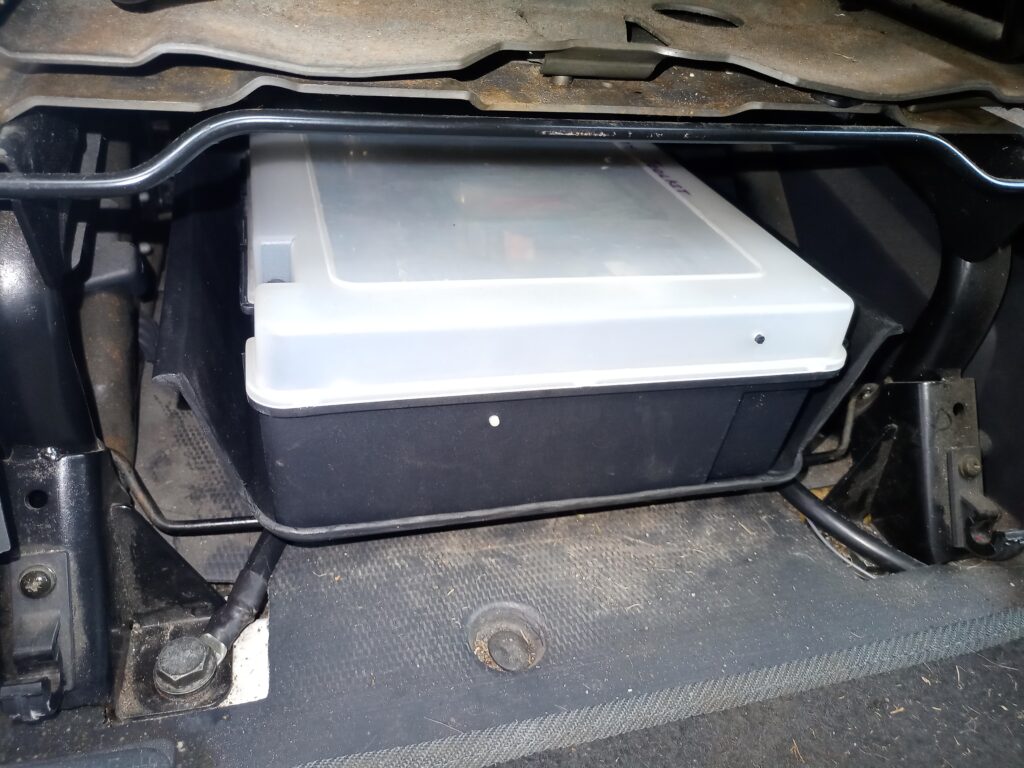
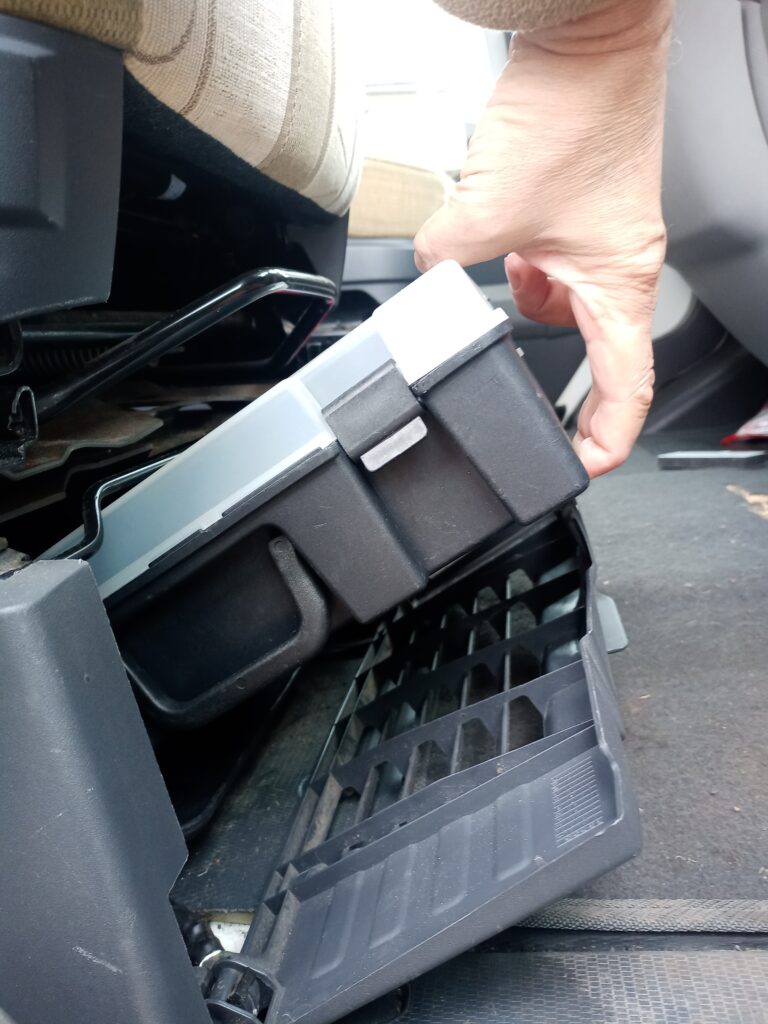
And the final image shows the front drop-down cover clipped back into place ready to close up. You can see in this photo how the toolbox is contained within the front lip of the adapted tray.
With this cover closed, everything is looking nice and tidy.
This is the Box in place stowed away. The Front Flap will just clip into place.

And getting removed. The Flap drops down enough to allow it to be pulled out easily.
A simple modification and I think it will prove very handy (but I think I need to get a clean cloth on this matting!)