This is the first part of a multi-part blog on an Electric Heater with a bit of a difference…..
Part 1 – Introduction and Installation
The Product
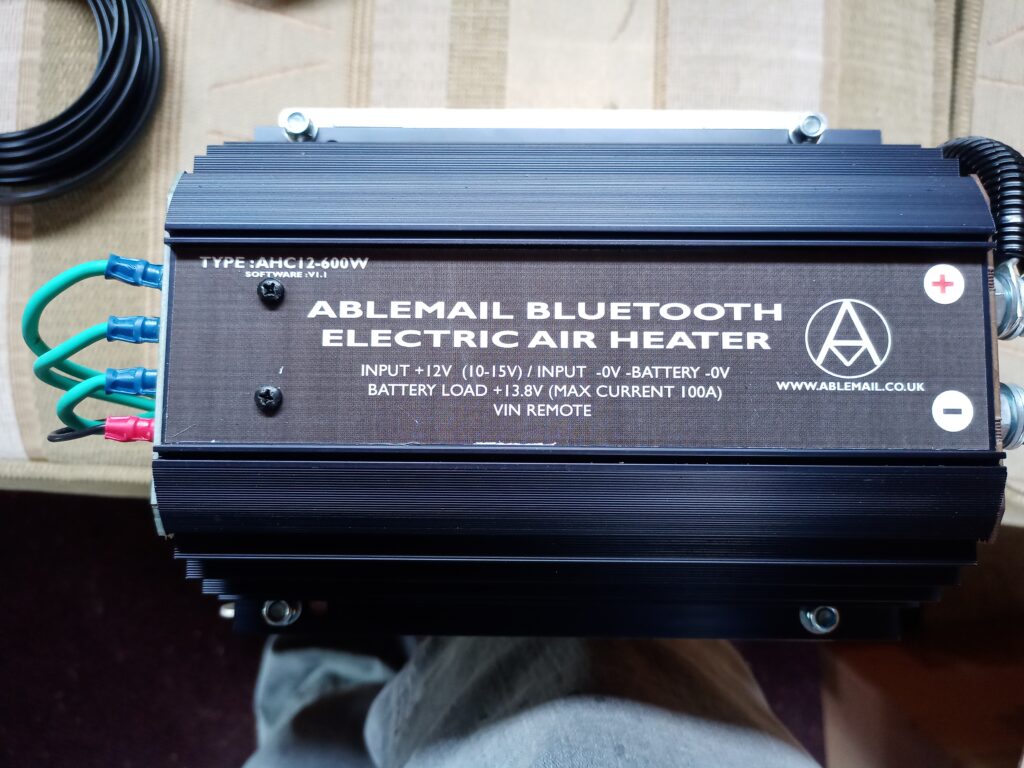
The Ablemail AHC12-600 is a 600W 12V Electric Heater with Bluetooth Connectivity.
The Company
Ablemail is a British Company based in Manchester, England. They design AND manufacture their products in the UK. They are best known for their range of DC-DC Chargers (also known as B2B – Battery to Battery – Chargers) but have a wider range of complementary products as well. To see the range, visit their website at www.ablemail.co.uk. We are big fans of the Ablemail AMC 30A B2B Charger and the Ablemail AMT12-2 Battery Maintainer (which we also sell in the on-line shop), so when we were offered the opportunity to try out the brand new Ablemail AHC DC Air Space Heater we jumped at the chance, as knowing Ablemail, it will be an exciting innovative product!
I should point out that the heater pictured and evaluated is a pre-production unit, which was actually even more exciting for us, as it meant we had the potential to provide input and suggestions for the finalised product and we know from experience with the early AMT Battery Maintainers that Ablemail are keen to listen to feedback and have a policy of constant product improvements.
Where changes have been made from this pre-production kit, I will made a note within the write-up.
The Concept
There are a few different approaches to space heating of course.
- In a Motorhome, LPG Heaters tend to be the most common solution, but relies on having an on-board LPG (Propane) supply and gas pipes routed to a heater that is externally vented.
- In a Lorry, Work Van or Welfare Van, Diesel Heaters are more common as they avoid the need for an LPG supply and share the fuel tank of the vehicle. But these need to be externally vented as well of course to avoid any potentially lethal exhaust fumes from entering the vehicle.
- An option of course if the vehicle is equipped with a Generator (or can be plugged into Shore/EHU Power) is to use a regular AC Mains heater such as a Fan Heater or Oil-Filled Radiator.
For the options above, both LPG and Diesel Heaters need very careful installation by trained staff and periodic and regular maintenance to ensure clean and safe running.
The AC Heater is the simplest option for heat in terms of installation and reliability, but needs a source of AC Power from an external source. As Lithium Batteries have become significantly more affordable and larger in capacity (and more and more people shunning LPG in their Motorhomes and Campervans), the idea of being able to run a heater using battery power through an Inverter (an Inverter takes DC power and converts it to AC Power as you would get out a house wall socket) has become more viable to a degree.
The AHC DC Heater is an Electric Heater just like the AC Heaters you might plug into a regular wall socket, but the key difference being, of course, you don’t need an AC Supply – so no Inverter required! No inverter means no extra hardware required and a reduction in power consumption as you don’t have the inverter overhead to factor in. And being electric means a much simplified installation with no deadly fumes to ensure are routed externally, combustable fuel to route or servicing requirements (as a comparison, compare the simplicity of installing & running a 12V Compressor Fridge in a Motorhome compared to a 3-Way LPG (Propane) Absorption Fridge).
So that is the principle behind the AHC Heater as we see it – No need to have specialist installers as it can be installed by anyone competent to install general DC electrical products and batteries; No need to have a separate fuel source or tap into a fuel tank; And no need for regular scheduled maintenance and less chance of issues arising while running.
There is of course a limit to the amount of power that can be drawn from a Battery Bank of course, and the running time will depend on how much heat is needed and how large the battery bank is, so this is a factor to consider.
As stated, we will be discussing primarily the AHC DC 600W Heater. Ablemail will also be releasing a couple of Heater options, including an DC+AC option which will combine the 600W Heater powered from DC with a 600W Element supplied by an AC input. This would give you the ability to run on DC for upto 600W, or on AC for upto 600W, or combining the two to give you a 1200W Air Space Heater. But initially we will just discuss the DC 600W Heater as installed. If we get the opportunity, we will give a review of the other versions at a later date.
The Parts for installation
This is a photo of the Heater kit supplied

What was in the kit is as follows:
- AHC Air Heater
- Controller
- Data Cable from Heater to Controller
- Room Temperature Sensor
- Extendable Flexible Hoses x 2 (the Heater has two outlets available)
- Rotatable Vent Outlets x 2
- Battery Connector Covers (+ve & -ve)
The only things needed to be added to the above to complete the installation is the actual cabling from Battery Bank to Heater. More on this in the next section.
The production kit may have some differences to the above; I know the Heater itself has been revised and is physically smaller now as Ablemail has – as mentioned before – carried out ongoing improvements to the design.
Installation
To minimise the cable length from Battery to Heater, I chose to install the AHC Air Heater in the same underseat area where the Battery Bank was located. I used 16mm2 (5 AWG) cable for the connections as that would give minimal voltage loss at full power for the cable length. If I had installed with a significantly longer cable run I would have gone up to 25mm2 (3 AWG) cable, but 16mm2 is more than fine for my installation. As is normal with device installations, I also added suitable fuse protection, using a Midi Fuse Holder (I used a 60A Fuse, which is higher than the device load and lower than the maximum rating of the cable, so all good there).
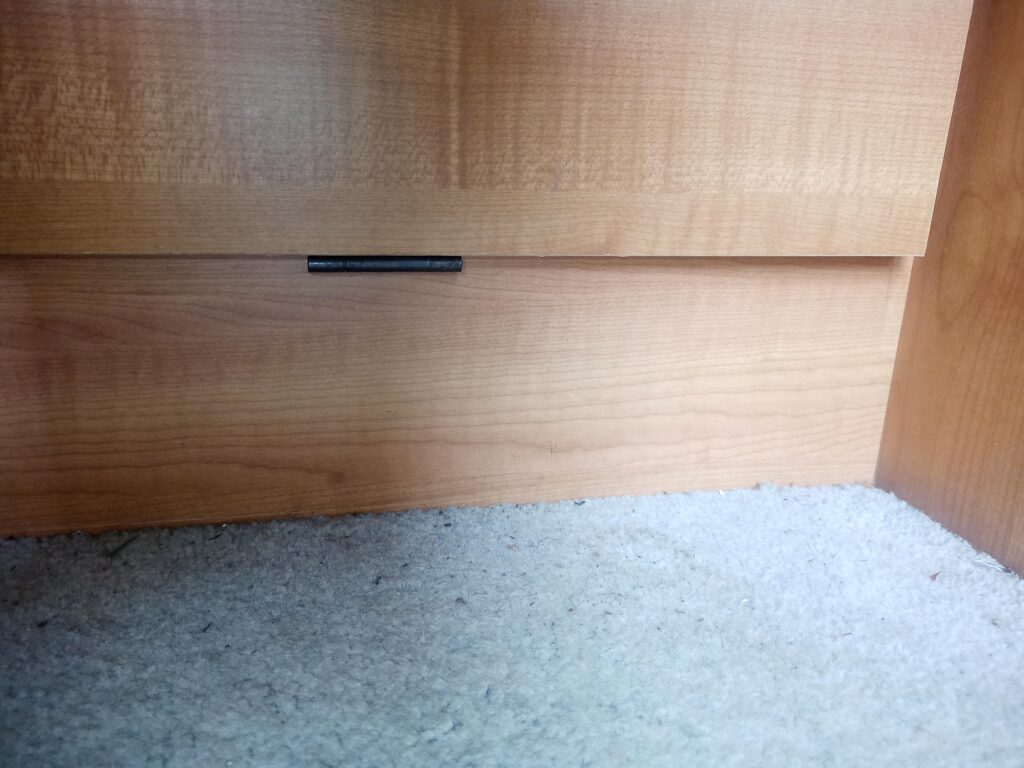
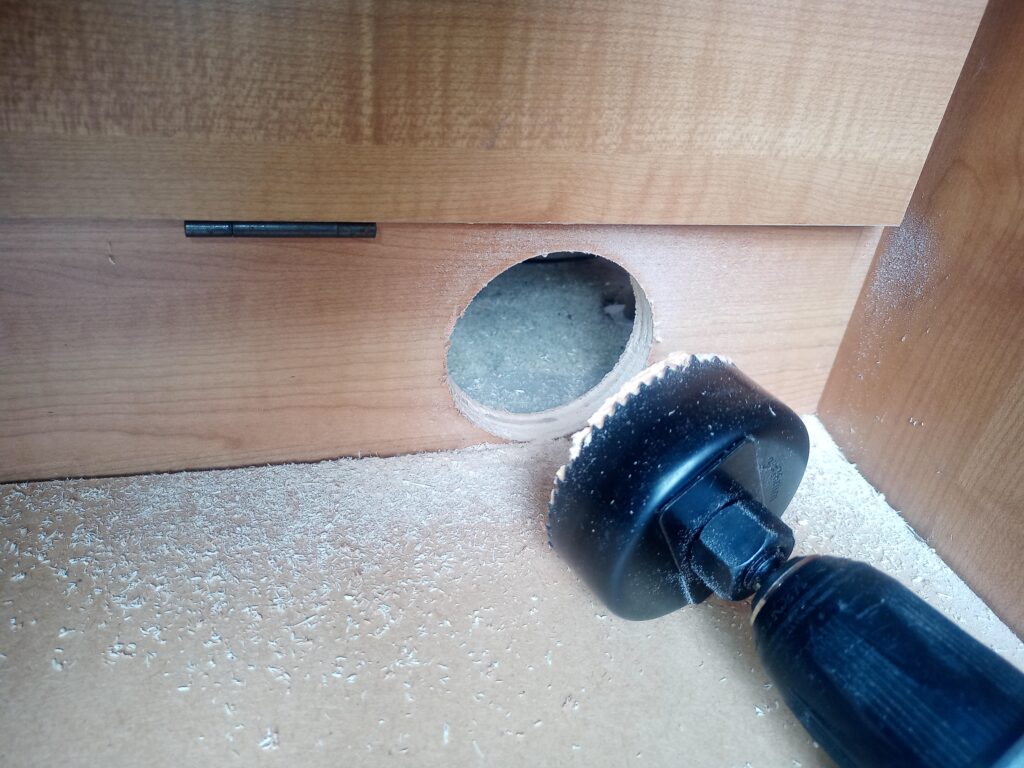
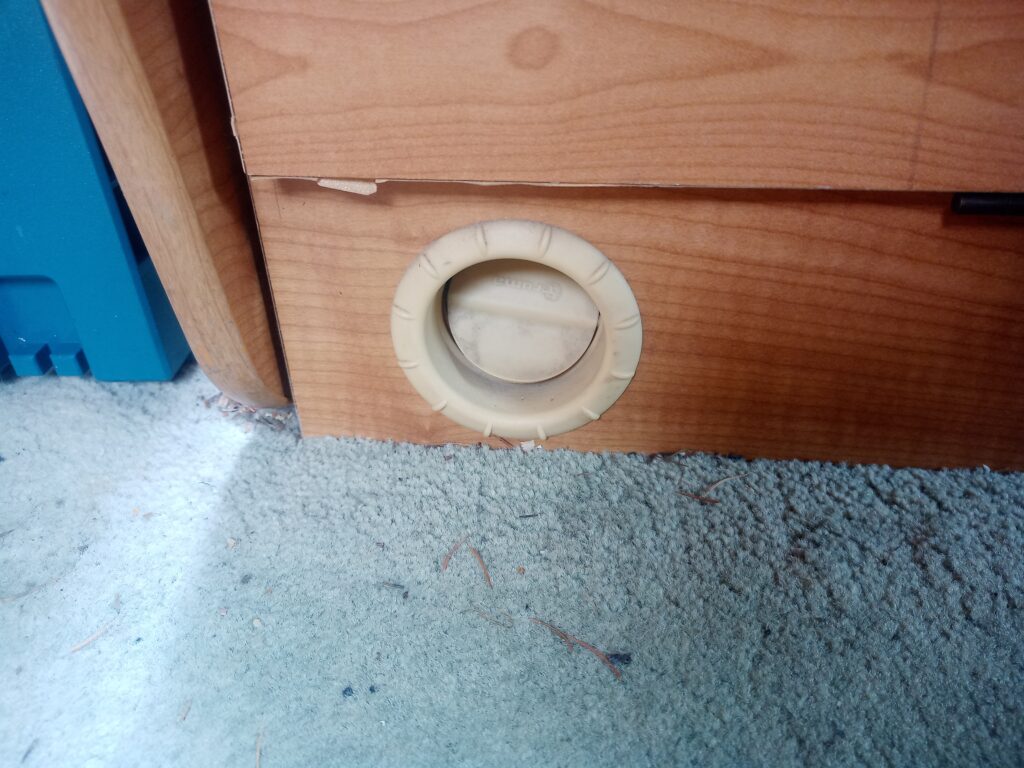
This is the board below the underseat door flap that I want to fit the vent in. You see the ‘Before’, the ‘During’ where I am making a suitable round hole for the vent, and then the ‘After’ where the Rotatable Outlet Vent is pushed in.

Here is a comparison with the Truma Heater outlet I already have on the facing seat. Quite similar in the way they work, except the truma vent is closable. This is ok for the Truma as there are multiple outlets as well as a front outlet on the Truma Ultraheat Heater, but for a fan heater it is important to have an open vent on at least one outlet.
The Heater Unit was fitted onto a ‘sled’, which is a method I use to set everything up and drop the assembled system into place

The Heater on the Sled and Installed is on the left (or above if on a small screen).
The heater is bolted down to a pair of raised metal rails, which are screwed down to a piece of plyword.
The 16mm2 DC Power Cables are routed through a length of conduit secured with P-Clips (shown below) to keep in place and away from any possible heat from the Heater Body casing

This next photo right (below) shows the initial Heater to Vent Outlet hose. It is a straight run which is ideal, but I did actually adjust this to give me back a bit of extra storage space under the seat (with a Motorhome, it is always a balance between storage and gadgets!). Changing the hose didn’t make any noticable difference to the airflow as not much length was added to the hose, so all good there.

The Controller
The AHC Heater has an external Controller PCB mounted on a plate with an indicator LED and rotary control. I like the Italian CBE mounting system, which is also in use in my Autotrail Motorhome, so I offered up the plate on an adapted Double Support Frame and it looks pretty good.
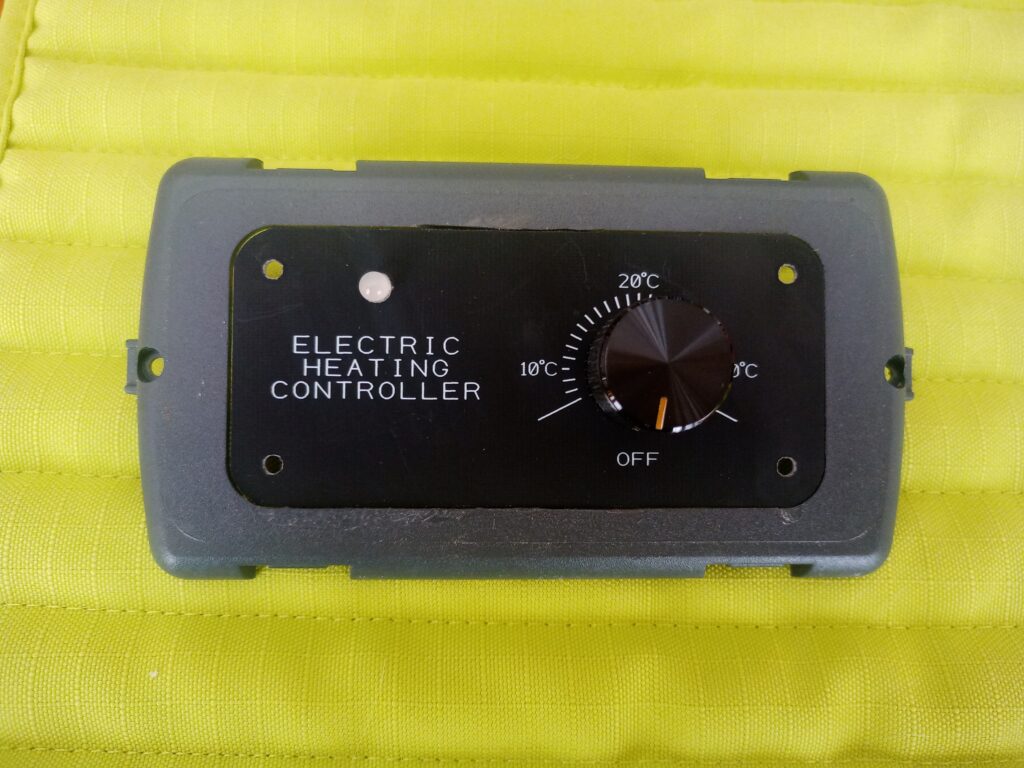
I already had a AC Socket on a Single CBE Mount and decided this would be a good location for the Controller as well. The great thing about the CBE system is its versitility, so I adapted a CBE Inner Triple Support Frame to take the Heater Controller and the previously fitted AC Socket (on a single mount originally) added next to it, enlarging the hole in the side wall to take the new parts.

I think it looks pretty nice and could easily be mistaken for an original fitment from new!
Note: A change made from this pre-production kit has been to make the controller plate fit into a single CBE mount, which will make the need to adapt the Support Frames unneccessary, which will be handy.
The other part added was the Room Temperature Sensor that was connected to the Heater and located in a suitable position. The best position will depend on the installation of course. I fitted mine next to an existing temperature sensor so I could compare the numbers (a handy thing to be able to do when evaluating a new product).
A useful extra outlet
The Ablemail Heater has a Frost setting and this will be very useful in a Motorhome to protect against freezing water especially.
To make this particually handy in my own installation, I use the second outlet for an extra vent outlet. (the Heater has dual outlets and comes with an cap to cover up one of them if you only intend to use a single hose – the photo of the installed heater earlier shows that cap in place).
The Heater is actually fitted next to the cupboard where the external underslung water tank supply comes into the interior and goes into the Water Pump and then routed to the services (taps, water heater and shower).
I drilled another round vent hole next to the Water Pump and fitted a vent outlet
Making the extra Vent Outlet hole.
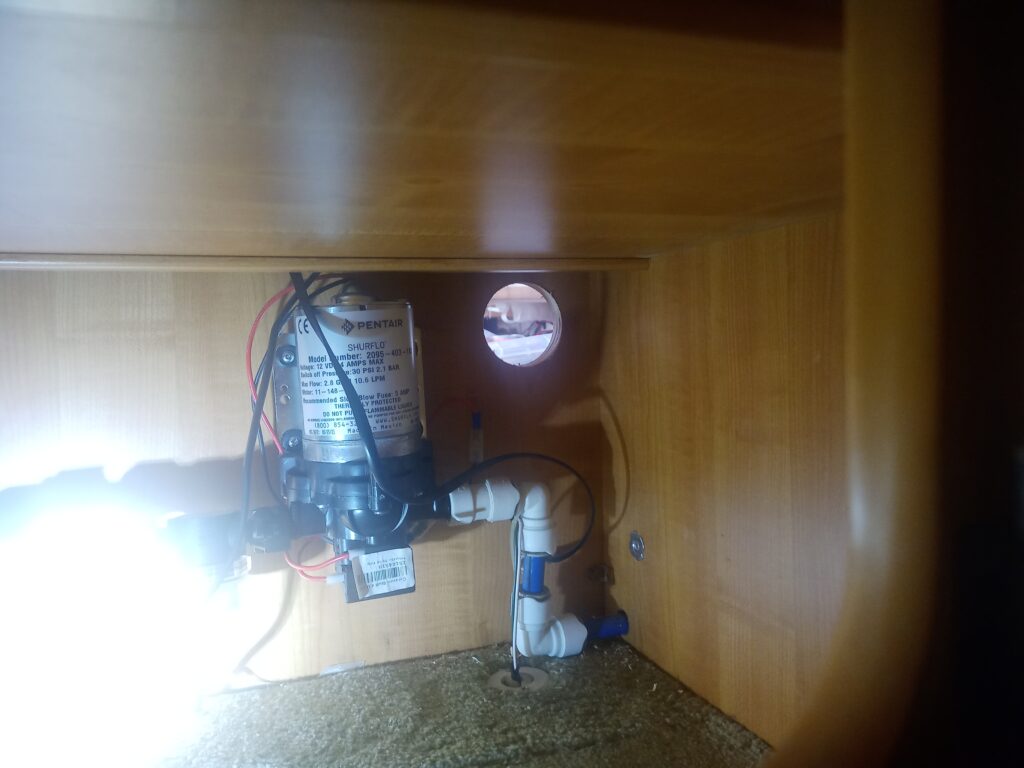
Rotatable & Closeable Vent in place.
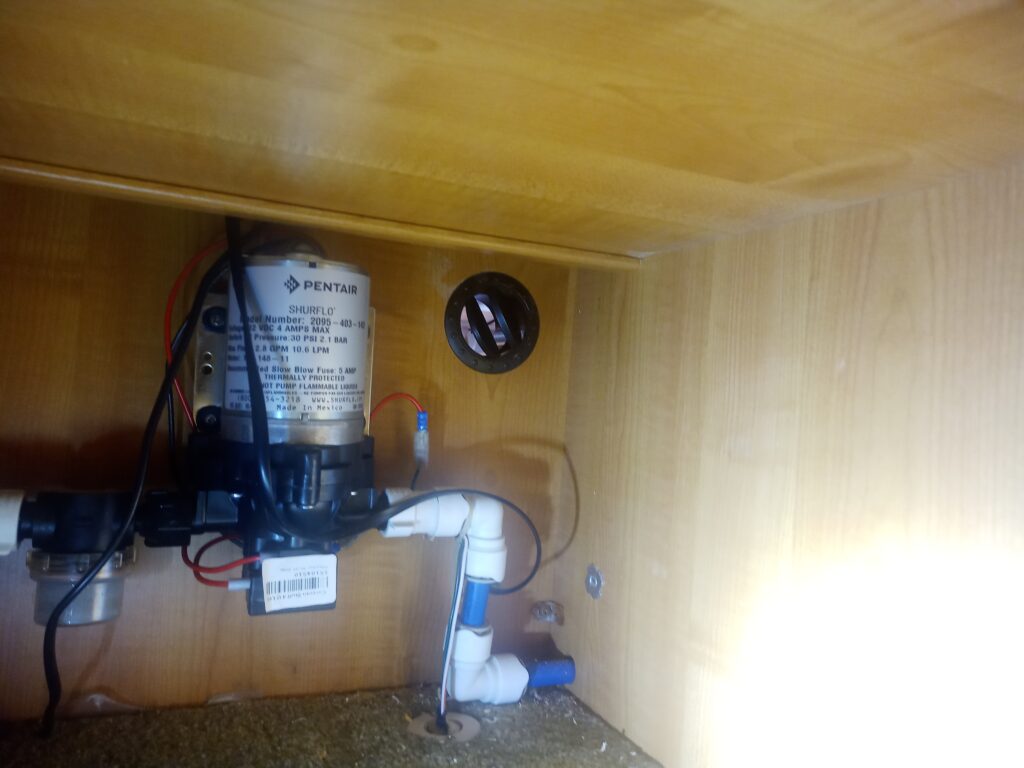
I decided instead to not use the supplied open Vent Outlet here, but obtain from Ablemail a vent that can be shut off if not needed. By having this closable, I can simply close the vent if I don’t need to warm up the cupboard area (this vent outlet would only be needed when the temperature is close to freezing).
This final photo for this section shows the Hose routing from Heater to the outlets. This also shows the rerouted lower hose that tucks closer to the wall as well

That concludes the Physical Installation of the AHC12-600 Air Heater.
Final
The heater is ready to use and I have used it to both warm up the van interior and to warm the kitchen cupboard to protect against pipe damage in the wintertime.
I will cover using the heater and the Bluetooth App on a subsequent post, but it is worth pointing out the use of the App (a free download from Ablemail) is optional. It adds extra features and abilities but the heater can also be used directly from the simple controller dial.